What to Expect During a TPE Session: A Step-by-Step Guide
What to Expect During a TPE Session: A Step-by-Step Guide
Deciding to undergo Therapeutic Plasma Exchange (TPE) is a significant step in your health journey. Because it is a medical procedure rather than a typical spa treatment, it is natural to have questions about what the experience is actually like. Will it hurt? How long does it take? Can I drive home afterwards? In this guide, we will walk you through the TPE experience at our clinic, step-by-step, so you can feel prepared, confident, and relaxed.
Phase 1: Preparation (Before You Arrive)
A successful TPE session starts before you walk in the door.
- Hydration is Key: The most important thing you can do is hydrate. Well-hydrated veins are easier to access, and the machine runs more smoothly. We recommend drinking plenty of water for 24 hours prior to your appointment.
- Eat a Good Meal: Do not fast. Eat a solid, calcium-rich meal (yogurt, cheese, leafy greens) before coming in. This helps maintain your blood sugar and calcium levels during the procedure.
- Clothing: Wear comfortable, loose-fitting clothing with sleeves that can be easily rolled up above the elbow. You will be sitting for a while, so comfort is priority #1.
Phase 2: Arrival and Setup (15 Minutes)
When you arrive at our VIP clinic, you will be greeted by our team and shown to your private treatment suite.
- Vitals Check: Our nurse will check your blood pressure, heart rate, temperature, and oxygen levels to ensure you are ready.
- Vein Assessment: The nurse will examine your arms to identify the best veins.
- IV Placement: This is the only "needle" part. We place two IV lines—one in each arm.
- Outflow (Draw) Line: Usually in the antecubital fossa (the crook of your elbow) where veins are largest.
- Inflow (Return) Line: Can be in the other elbow or a smaller vein in the hand/forearm.
- Note: We use local numbing (lidocaine cream or spray) to minimize discomfort. Once the IVs are in, the needles are removed and only flexible plastic tubes remain. You can move your arms (carefully) without pain.
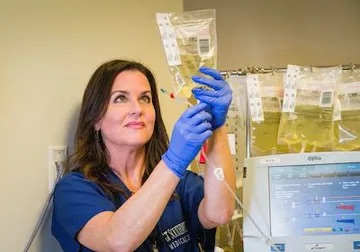
Phase 3: The Procedure (~60 Minutes)
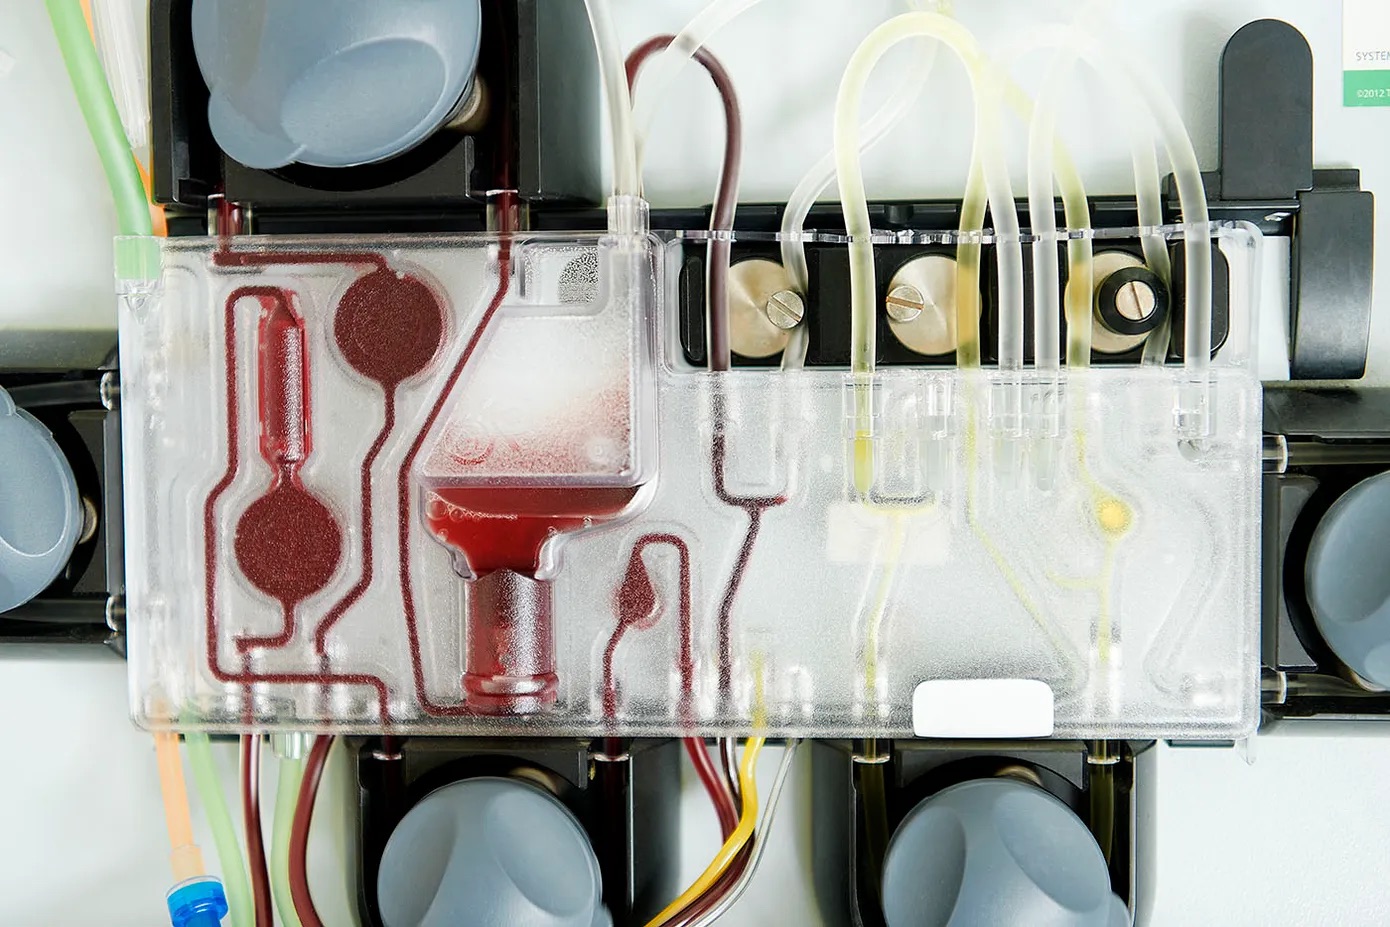
Once the lines are connected to the apheresis machine, the process begins.
- The Machine: You will see the machine working next to you. It is fascinating to watch. You can see your blood leaving one tube, entering the centrifuge, and separating. You will see a bag filling with yellowish-gold fluid—that is your old plasma (the "toxins"). You will see the clear albumin fluid being mixed with your red blood cells and returning to your other arm.
- Comfort: You will be in a reclining medical chair. During the session, you can:
- Watch a movie or TV show.
- Listen to a podcast or music.
- Nap (many patients do!).
- Sensations: You generally won't feel the blood moving. The most common sensation is a slight cooling or a tingling in the lips/fingers.
Phase 4: The IVIG Infusion (~30 Minutes)
This is a unique step at VIP TPE that sets us apart.
- What Happens: Immediately after the plasma exchange is complete, we administer an Intravenous Immunoglobulin (IVIG) infusion through your existing IV line.
- Why It Matters: IVIG provides a powerful boost to your immune system. It helps modulate inflammation and supports your body's natural defenses.
- The Cost: In most settings, this add-on would cost thousands of dollars. We include it free of charge because we believe it is essential for the best results.
- Sensation: This part is very passive. You just continue to relax while the fluid drips in.
Phase 5: Completion and Removal (15 Minutes)
The machine calculates exactly when the target volume has been exchanged and the infusion is complete.
- Rinseback: The machine returns the last bit of your red blood cells to your body.
- Disconnect: The nurse disconnects the tubing and removes the IVs.
- Bandaging: Pressure is applied to the sites for a few minutes to stop bleeding, and then a pressure bandage is applied.
Phase 6: Recovery (Post-Procedure)
You will stay in the chair for a few minutes to ensure you don't feel lightheaded when standing up. We will provide a snack and a drink.
- Immediate Feeling: Some people feel a "runner's high" or lightness immediately. Others feel tired and ready for a nap. Both are normal.
- Driving: Most patients can drive themselves home, but for your first session, we recommend having a ride arranged just in case you feel fatigued.
The Next 24 Hours
- Rest: Take it easy. No heavy lifting or intense gym sessions for the rest of the day.
- Hydrate: Continue to drink water.
- Bruising: You may have a small bruise at the IV site, which will fade in a few days.
- The "TPE Glow": Many patients report a significant boost in energy, mental clarity, and sleep quality starting the morning after the procedure. This is the "fresh oil" feeling kicking in.
Summary
The TPE experience is designed to be as medical as necessary but as comfortable as possible. It is a time for you to relax while the technology does the work of rejuvenating your system. It is a few hours of sitting for years of potential health benefits—a trade-off our clients are happy to make.